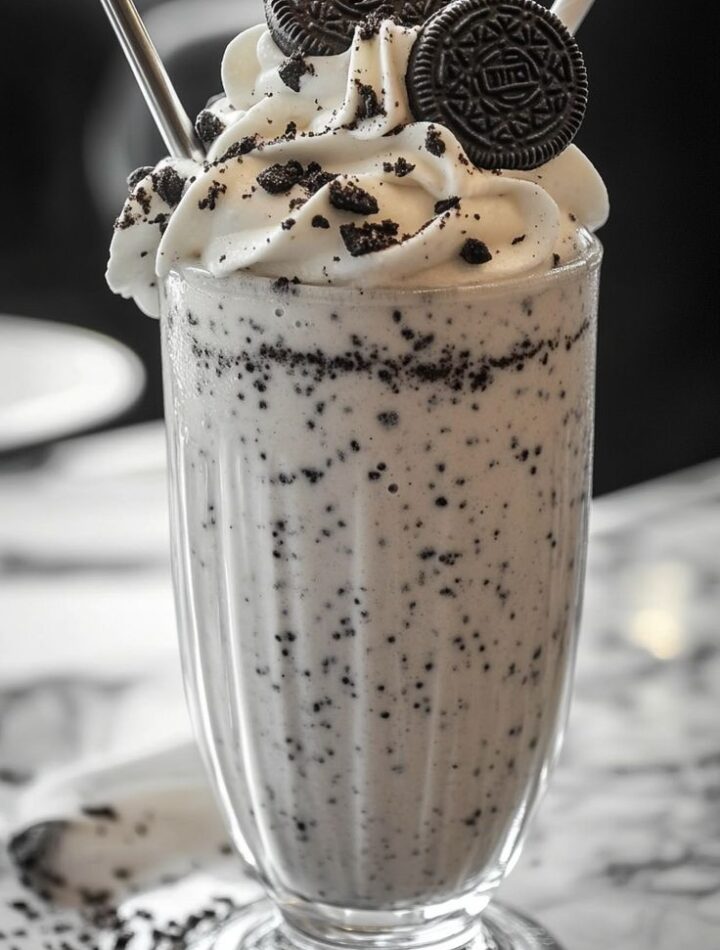
If you’re looking for a creamy, chocolatey frozen dessert that’s easy to make at home, Oreo ice bars are a perfect choice. They combine the rich flavor of cream with the crunch of Oreo cookies, creating a delicious treat that both kids and adults enjoy. The best part is that you don’t need an ice cream maker. With just a handful of ingredients and a little patience while they freeze, you can make homemade Oreo ice bars that taste like a premium frozen dessert.
Ingredients
- 20 Oreo cookies
- 2 cups heavy whipping cream (cold)
- 1 cup sweetened condensed milk
- 1 teaspoon vanilla extract
- 2 tablespoons milk (optional, for blending cookies smoothly)
- 100 grams dark or milk chocolate (for coating)
- 1 tablespoon coconut oil or butter (optional, for a smoother chocolate coating)
- Ice cream sticks
- Ice bar molds or small paper cups
Equipment
- Mixing bowl
- Electric hand mixer or stand mixer
- Blender or food processor
- Rubber spatula
- Ice cream molds
- Microwave-safe bowl or double boiler
Instructions
Step 1: Crush the Oreo Cookies
Separate about 15 Oreo cookies and crush them into fine crumbs using a food processor or blender. Leave the remaining cookies slightly chunky so the finished ice bars have bits of crunchy cookie throughout. If you don’t have a food processor, place the cookies in a zip-top bag and crush them with a rolling pin.
Step 2: Whip the Cream
Pour the cold heavy whipping cream into a large mixing bowl. Using an electric mixer, whip the cream until soft peaks form. This usually takes about 3 to 4 minutes. Avoid overwhipping, as the cream may become grainy.
Step 3: Prepare the Base
In another bowl, combine the sweetened condensed milk and vanilla extract. Stir until smooth. Fold this mixture gently into the whipped cream using a spatula. Mix carefully to keep the mixture light and airy.
Step 4: Add the Oreo Cookies
Fold the crushed and chunky Oreo cookies into the cream mixture. Stir gently until the cookies are evenly distributed. Every bite should contain delicious cookie pieces.
Step 5: Fill the Molds
Spoon the Oreo mixture into your ice cream molds or paper cups. Tap the molds lightly on the counter to remove any trapped air bubbles. Insert an ice cream stick into the center of each mold.
Step 6: Freeze
Place the filled molds in the freezer for at least 6 to 8 hours, preferably overnight. The bars should become completely firm before removing them from the molds.
Step 7: Prepare the Chocolate Coating
Break the chocolate into small pieces and melt it using a microwave in 20-second intervals, stirring each time until smooth. Alternatively, melt it using a double boiler. Stir in the coconut oil or butter for a shinier and smoother coating.
Allow the melted chocolate to cool slightly before dipping the frozen bars.
Step 8: Coat the Ice Bars
Remove the frozen Oreo bars from the molds. Dip each bar quickly into the melted chocolate, turning it to coat all sides evenly. Because the bars are very cold, the chocolate will harden almost immediately.
Place the coated bars on a tray lined with parchment paper.
Step 9: Final Freeze
Return the chocolate-coated bars to the freezer for another 15 to 20 minutes to ensure the coating is completely set.
Serving Suggestions
Serve the Oreo ice bars straight from the freezer. They pair wonderfully with:
- Fresh strawberries
- Chocolate syrup
- Caramel sauce
- Crushed Oreo cookies sprinkled on top
- Chopped almonds or hazelnuts
- A drizzle of white chocolate
These frozen treats are perfect for birthday parties, family gatherings, summer picnics, or simply as an after-dinner dessert.
Storage Tips
Store the ice bars in an airtight container or wrap each one individually in baking paper or plastic wrap. They will stay fresh in the freezer for up to two weeks. Keeping them covered helps prevent freezer burn and preserves their creamy texture.
Variations
You can easily customize this recipe by trying different flavors:
- Add mini chocolate chips for extra crunch.
- Mix in peanut butter for a nutty flavor.
- Use golden sandwich cookies instead of classic Oreos.
- Add a swirl of chocolate fudge or caramel before freezing.
- Sprinkle colorful candy pieces into the mixture for a fun party version.
- Coat the bars with white chocolate instead of milk chocolate.
Tips for Success
- Always use cold whipping cream for the best volume.
- Fold the ingredients gently to maintain a light texture.
- Freeze the bars completely before coating them in chocolate.
- Work quickly when dipping to prevent melting.
- If the chocolate becomes too thick, gently warm it again before coating the remaining bars.
Conclusion
Homemade Oreo ice bars are simple to prepare, require only a few ingredients, and deliver a rich, creamy dessert with the classic cookies-and-cream flavor everyone loves. Whether you’re making them for children, guests, or yourself, these frozen treats are sure to be a hit. By following these steps and experimenting with different toppings and coatings, you can create bakery-style Oreo ice bars right in your own kitchen. Enjoy them on a hot summer day or anytime you want a cool, satisfying dessert.