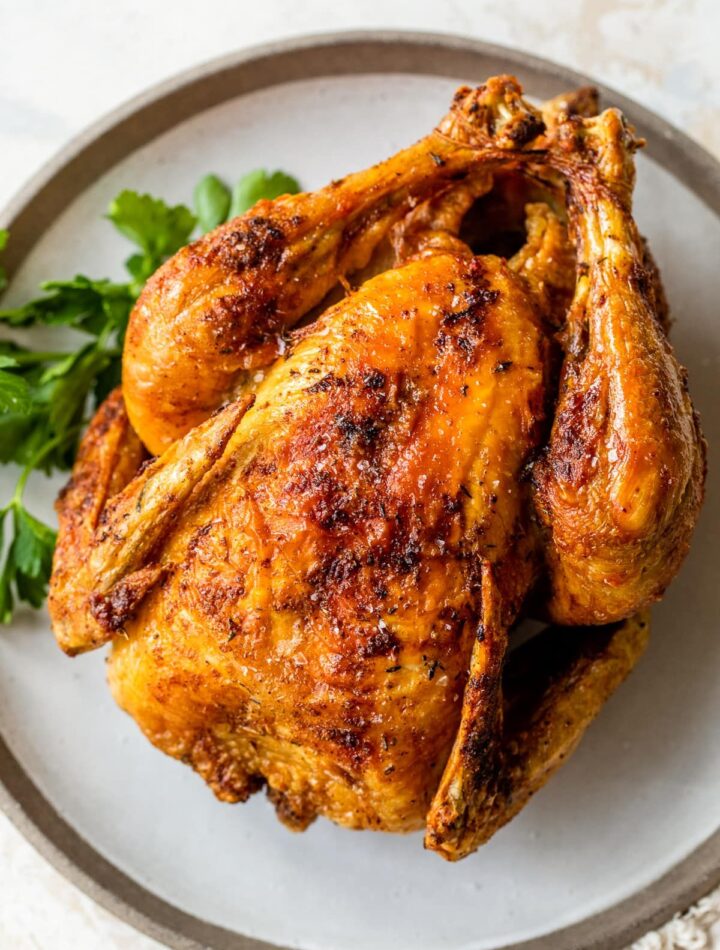
Air Fryer Rotisserie Chicken is a delicious, juicy, and flavorful meal that brings the taste of grocery-store rotisserie chicken right into your kitchen. With crispy golden skin, tender meat, and a blend of savory seasonings, this recipe is perfect for family dinners, meal prep, sandwiches, salads, and countless other dishes.
Using an air fryer significantly reduces cooking time while still producing a beautifully roasted chicken with crispy skin and moist, flavorful meat. The circulating hot air cooks the chicken evenly and creates a delicious crust without requiring excessive oil. Whether you’re preparing a weeknight dinner or a weekend feast, this Air Fryer Rotisserie Chicken is sure to impress.
Why You’ll Love This Recipe
- Crispy golden skin
- Juicy and tender meat
- Easy preparation
- Perfect for meal prep
- Family-friendly
- Uses simple ingredients
- Faster than traditional oven roasting
Preparation Time
- Prep Time: 15 minutes
- Marinating Time: 30 minutes (optional)
- Cook Time: 55–65 minutes
- Rest Time: 10 minutes
- Total Time: About 1 hour 30 minutes
Servings
Serves 4–6
Ingredients
For the Chicken
- 1 whole chicken (4–5 pounds)
- 2 tablespoons olive oil
Seasoning Blend
- 2 teaspoons paprika
- 1 teaspoon garlic powder
- 1 teaspoon onion powder
- 1 teaspoon dried thyme
- 1 teaspoon dried oregano
- 1 teaspoon salt
- ½ teaspoon black pepper
- ½ teaspoon smoked paprika (optional)
- ¼ teaspoon cayenne pepper (optional)
Optional Aromatics
- 1 lemon, halved
- 4 garlic cloves
- Fresh rosemary sprigs
- Fresh thyme sprigs
Equipment Needed
- Air fryer with rotisserie function or large basket air fryer
- Kitchen twine
- Meat thermometer
- Small mixing bowl
- Tongs
Instructions
Step 1: Prepare the Chicken
Remove the chicken from its packaging.
Take out any giblets from the cavity.
Pat the chicken dry thoroughly using paper towels.
Dry skin is essential for achieving a crispy exterior.
Allow the chicken to sit at room temperature for about 20 minutes before seasoning.
Step 2: Prepare the Seasoning
In a small bowl, combine:
- Paprika
- Garlic powder
- Onion powder
- Thyme
- Oregano
- Salt
- Black pepper
- Smoked paprika
- Cayenne pepper
Mix well.
This seasoning blend creates a savory, slightly smoky flavor profile.
Step 3: Season the Chicken
Rub the entire chicken with olive oil.
Ensure all surfaces are lightly coated.
Sprinkle the seasoning mixture evenly over the chicken.
Use your hands to rub the spices into the skin and under the skin where possible.
This helps maximize flavor.
Step 4: Add Aromatics
If desired, place the following inside the cavity:
- Lemon halves
- Garlic cloves
- Fresh rosemary
- Fresh thyme
These aromatics infuse the chicken with additional flavor during cooking.
Step 5: Truss the Chicken
Using kitchen twine, tie the legs together.
Tuck the wing tips behind the back.
Trussing helps the chicken cook evenly and maintain its shape.
Step 6: Preheat the Air Fryer
Preheat the air fryer to 360°F (182°C) for about 5 minutes.
Preheating ensures even cooking and better browning.
Step 7: Place the Chicken in the Air Fryer
If using a rotisserie attachment:
Secure the chicken firmly on the spit according to your manufacturer’s instructions.
If using a basket-style air fryer:
Place the chicken breast-side down in the basket.
Ensure there is adequate space around the chicken for air circulation.
Step 8: Begin Cooking
Cook at 360°F (182°C).
For rotisserie models, activate the rotisserie setting.
For basket models, cook breast-side down for approximately 30 minutes.
Step 9: Flip if Necessary
If using a basket-style air fryer, carefully flip the chicken after 30 minutes.
Continue cooking breast-side up for another 25–35 minutes.
Rotisserie models generally do not require flipping.
Step 10: Check Internal Temperature
Insert a meat thermometer into the thickest part of the thigh without touching the bone.
The chicken is fully cooked when it reaches:
165°F (74°C)
If necessary, continue cooking for an additional 5–10 minutes.
Step 11: Rest the Chicken
Carefully remove the chicken from the air fryer.
Transfer it to a cutting board.
Allow it to rest for 10 minutes.
Resting helps the juices redistribute throughout the meat.
Step 12: Carve and Serve
Remove the kitchen twine.
Carve the chicken into serving portions.
Serve immediately.
Serving Suggestions
Air Fryer Rotisserie Chicken pairs wonderfully with many side dishes.
Vegetables
Serve with:
- Roasted carrots
- Green beans
- Broccoli
- Brussels sprouts
- Asparagus
Potatoes
Pair with:
- Mashed potatoes
- Roasted potatoes
- Sweet potato fries
Salads
Serve alongside:
- Caesar salad
- Garden salad
- Coleslaw
Rice
White rice, brown rice, or wild rice complement the chicken beautifully.
Flavor Variations
Lemon Herb Chicken
Increase the lemon and fresh herbs.
Cajun Rotisserie Chicken
Add Cajun seasoning and extra paprika.
Garlic Butter Chicken
Brush melted garlic butter over the chicken during the final 10 minutes.
BBQ Chicken
Brush barbecue sauce on during the last few minutes of cooking.
Mediterranean Style
Use oregano, rosemary, garlic, and lemon zest.
Meal Prep Ideas
Rotisserie chicken is incredibly versatile.
Use leftovers in:
- Sandwiches
- Wraps
- Salads
- Soups
- Casseroles
- Pasta dishes
- Tacos
The cooked chicken stores well and can be repurposed throughout the week.
Storage Instructions
Refrigerator
Store leftovers in airtight containers for up to 4 days.
Freezer
Freeze shredded or sliced chicken for up to 3 months.
Reheating
Warm gently in the oven, air fryer, or microwave.
Add a splash of broth to maintain moisture.
Tips for Success
Dry the Skin Thoroughly
Dry skin leads to crispier results.
Don’t Overcrowd
Allow airflow around the chicken.
Use a Thermometer
This ensures perfectly cooked meat.
Rest Before Carving
Resting preserves juiciness.
Season Generously
A well-seasoned chicken develops the best flavor.
Common Mistakes to Avoid
- Skipping the drying step
- Overcooking the chicken
- Not checking temperature
- Forgetting to rest the meat
- Overcrowding the air fryer
Avoiding these mistakes ensures perfect results every time.